This guide goes over installing and setting up the Lensmaster Action Server software on a raspberry Pi. Once setup, the raspberry pi digital outputs will be controllable from Lensmaster.
Things You'll Need
- Raspberry Pi 3B or 4B
- MicroSD card (at least 8gb)
Installing RaspberryPi OS
1. Download Raspberry Pi Imager from https://www.raspberrypi.com/software/.
2. Follow the instructions in this video by the Raspberry Pi Foundation to install Raspberry Pi OS on your microSD card.
3. Once the microSD card has finished imaging, unplug it from your computer and plug it into the microSD card port on your Raspberry Pi.
4. Connect a keyboard, a mouse and a HDMI monitor to your Raspberry Pi.
5. Power the Raspberry Pi by connecting a 5V USB power supply (or power bank) to the USB microB port on the Raspberry Pi3 or the USB type C on the Raspberry Pi 4.
6. You should now see the raspberry pi booting into Raspberry Pi OS.
Installing the Lensmaster Action Server
1. Before proceeding with the installation, connect your Raspberry Pi to a Wifi network with Internet access as the installer might need to download some dependencies.
2. Copy the “Lensmaster Action Server for Raspberry Pi” zip file downloaded from your customer portal onto the Raspberry Pi using a USB stick.
3. Extract the contents of the ZIP archive onto your Raspberry Pi Desktop. You should now have a folder called “LensmasterActionServer”.
4. (Optional) Edit the config.json file in the extracted folder to change the action server configuration. Check Configuring the Action Server for more details.
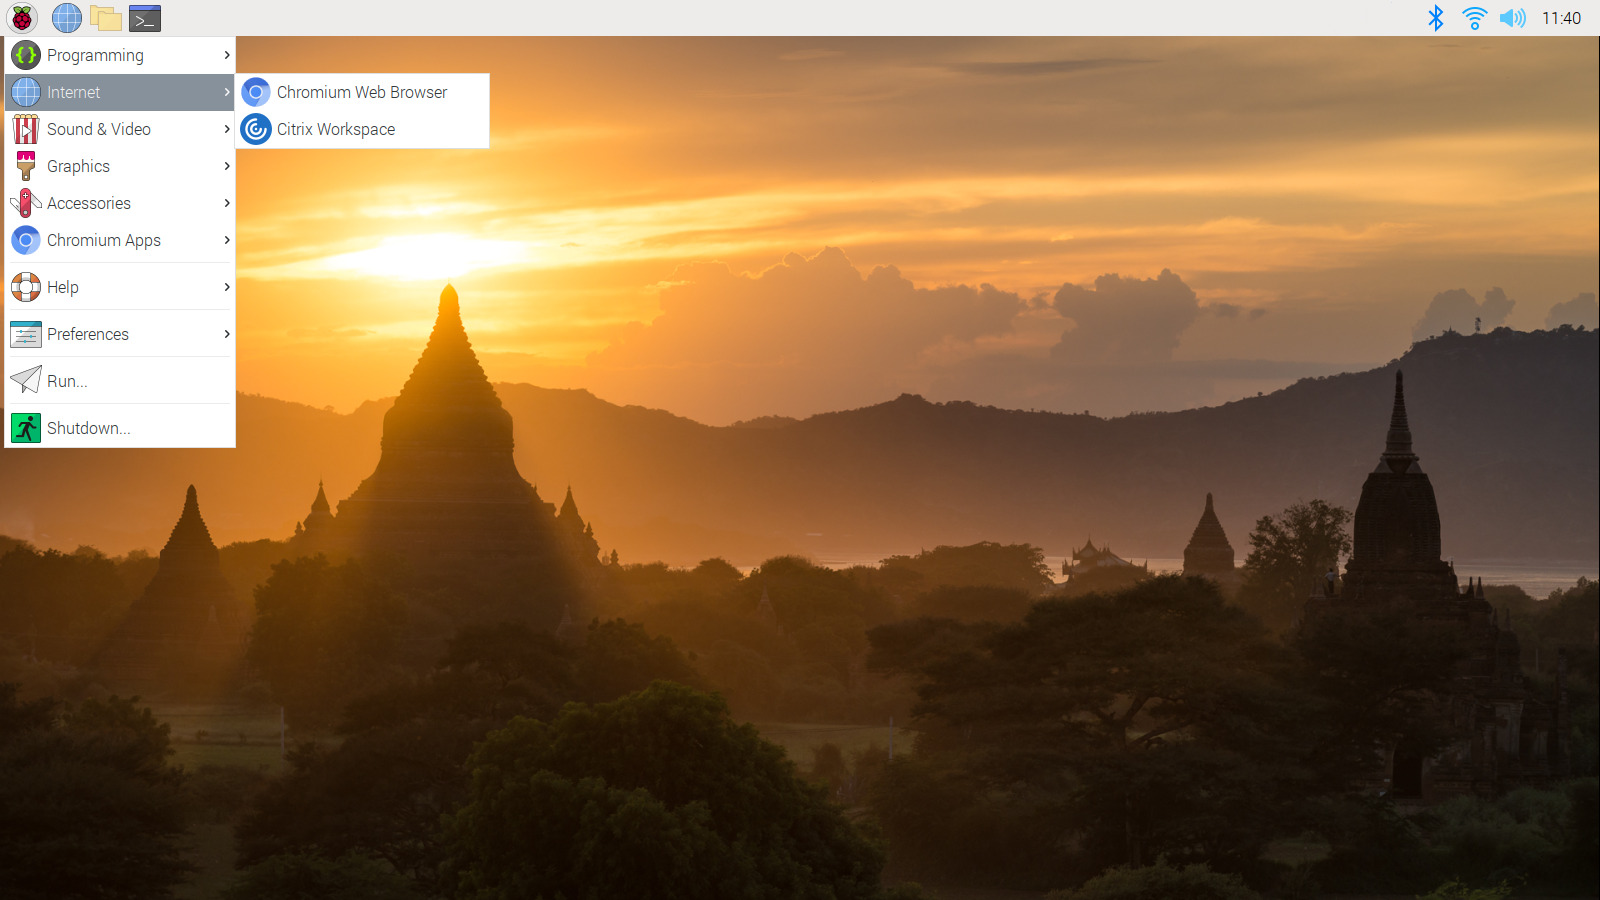
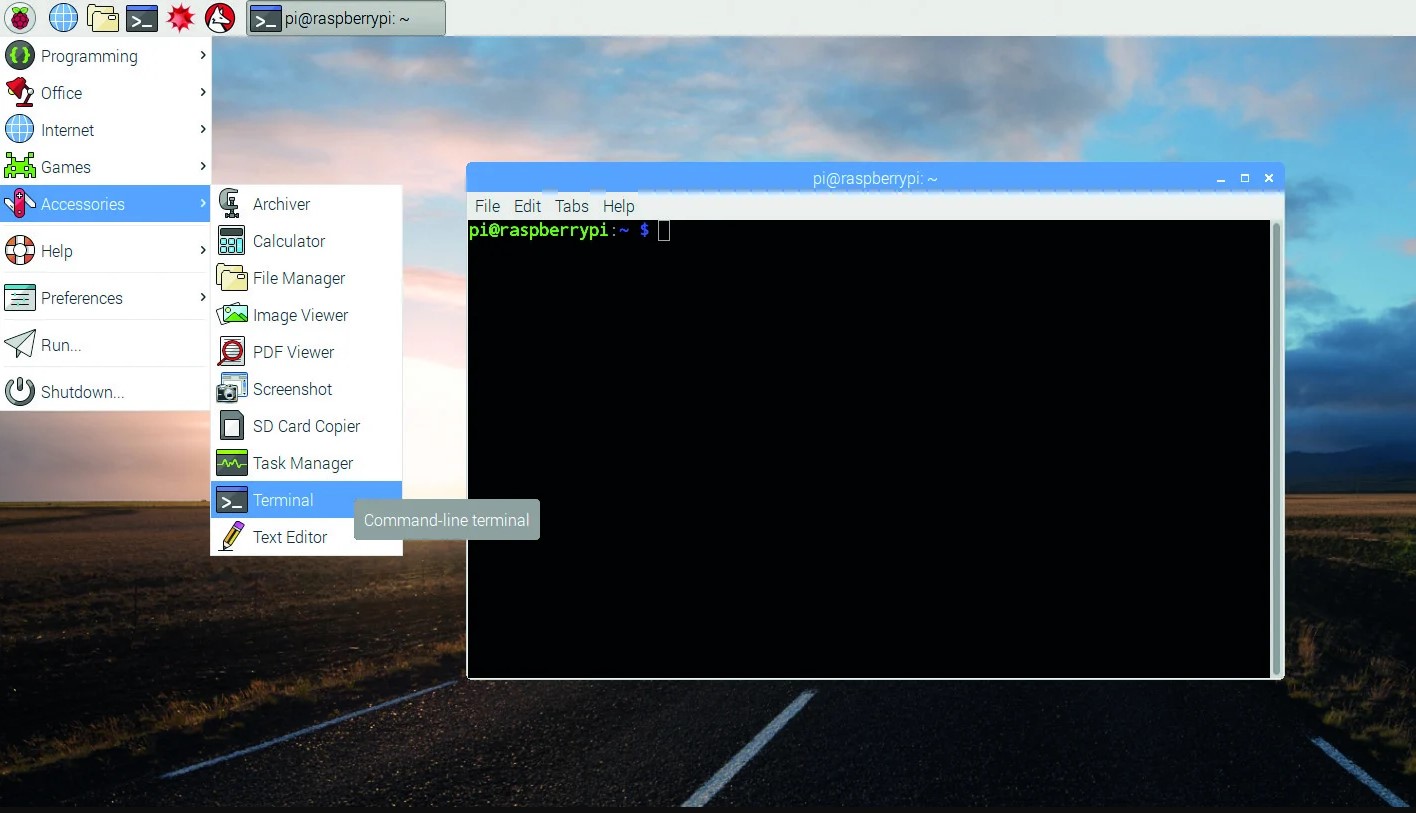
5. Open a new terminal window by clicking the terminal icon at the top left of your screen.
6. In the terminal now type and run (by hitting enter) the following commands in order:
cd Desktop/LensmasterActionServer

sudo python3 install.py
6. Lensmaster Action Server should now be installed and activated on your raspberry Pi.
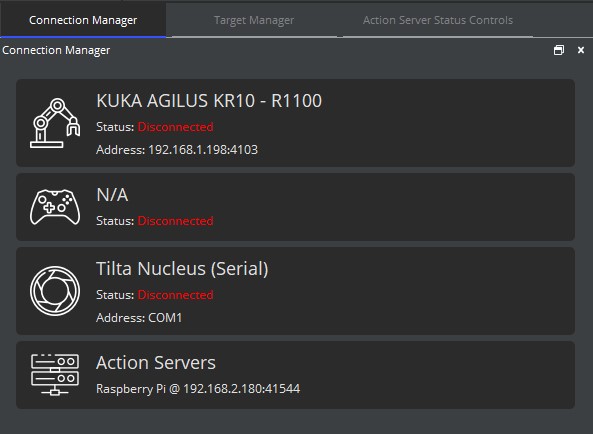
7. Finally plug in your raspberry Pi using ethernet to the same network switch as your robot and Lensmaster PC. The new device should automatically show up under Action Servers in the Lensmaster Connection Manager.
Configuring the Action Server
The configuration for the Lensmaster Action Server is defined in the “config.json” file in the LensmasterActionServer folder on your Raspberry Pi. By default the “config.json” is as follows.
{

"name": "Raspberry Pi",

"device_id": 0,

"active_low": true

}
Below is a list of the user editable parameters and their definitions.
name
device_id
active_low
To apply the new configuration, uninstall and then reinstall the LensmasterActionServer by running the following code in a new terminal window.
cd Desktop/LensmasterActionServer

sudo python3 uninstall.py

sudo python3 install.py
Uninstalling the Action Server
Follow these steps to uninstall the Lensmaster Action Server from your Raspberry Pi
1. Open a new terminal window by clicking the terminal icon at the top left of your screen
2. In the terminal now type and run (by hitting enter) the following commands in order:
cd Desktop/LensmasterActionServer

sudo python3 uninstall.py
3. Close the open terminal window then delete the “Lensmaster Action Server” folder from your desktop
Updating the Action Server
Follow these steps to update the Lensmaster Action Server from your Raspberry Pi
1. Open a new terminal window by clicking the terminal icon at the top left of your screen
2. In the terminal now type and run (by hitting enter) the following commands in order:
cd Desktop/LensmasterActionServer

sudo python3 uninstall.py
3. Close the open terminal window then delete the “Lensmaster Action Server” folder from your desktop
4. Copy the updated “Lensmaster Action Server for Raspberry Pi” zip file downloaded from your customer portal onto the Raspberry Pi using a USB stick.
5. Extract the contents of the ZIP archive onto your Raspberry Pi Desktop. You should now have a folder called “LensmasterActionServer”.
6. Open a new terminal window.
7. In the terminal now type and run (by hitting enter) the following commands in order:
cd Desktop/LensmasterActionServer

sudo python3 install.py