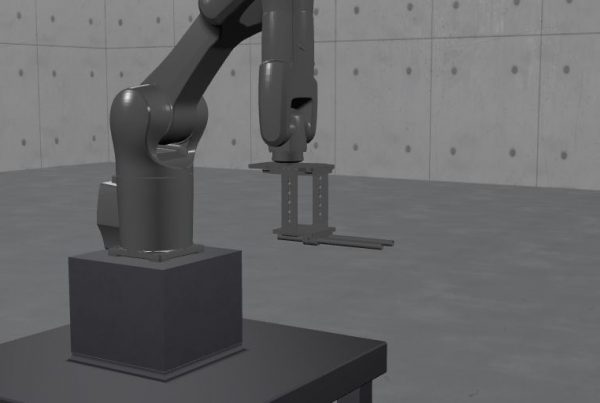
This article will guide you through connecting your Kuka robot to your Windows PC. This is a prerequisite to establishing a connection between Lensmaster and your robot.
Things You’ll Need
Option 1
- Crossover ethernet cable
Option 2
- Unmanaged network switch
- 2 Regular Ethernet Cables
Option 3
It is also possible to connect your robot to your studio’s local network. In that case, check with your network administrator to set up the robot network settings.
Hardware Setup
- Connect one end of your crossover ethernet cable (or one of the regular cables plugged into the switch) to the KLI (X66) port on the robot KRC.
- Connect the other end of your crossover ethernet cable (or the other regular cable plugged into the switch) to an ethernet port on your computer.
Software Setup
On the Kuka Teach Pendant
1. Make sure that no program is selected.
2. Login as Administrator or Expert.
3. Navigate to Startup -> Network Configuration.
4. Hit advanced in the bottom right corner.
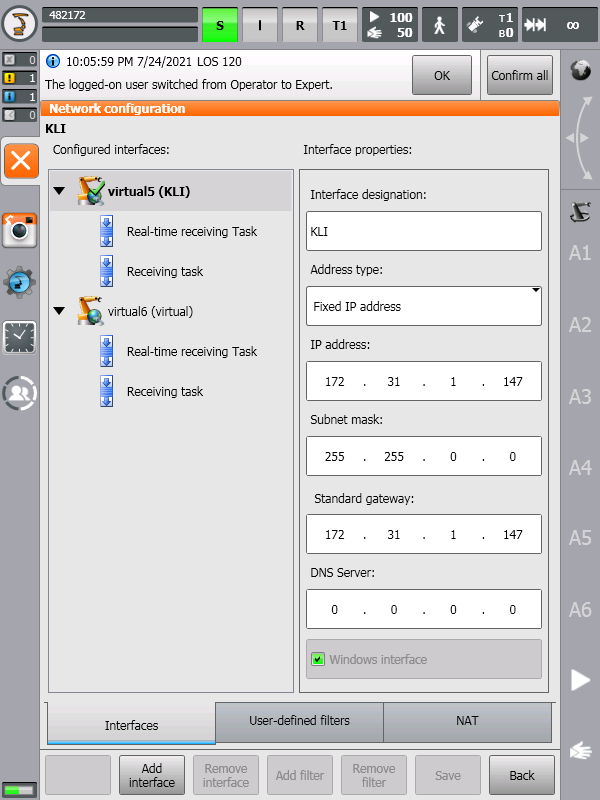
5. Select Virtual5 Windows KLI Interface and put the below-mentioned parameters:
- Address Type: Fixed IP Address

- IP Address: 172.31.1.147 (or any IP Address on the same subnet)

- Subnet mask: 255.255.0.0

- Standard Gateway: 172.31.1.147 (Same as IP Address)

- Windows Interface: Yes
7. Select the Virtual6 Interface and put in the below-mentioned parameters:
- Address Type: Mixed IP Address

- IP Address: 192.168.2.147 (or any IP Address on the same subnet)

- Subnet mask: 255.255.255.0

- Windows Interface: No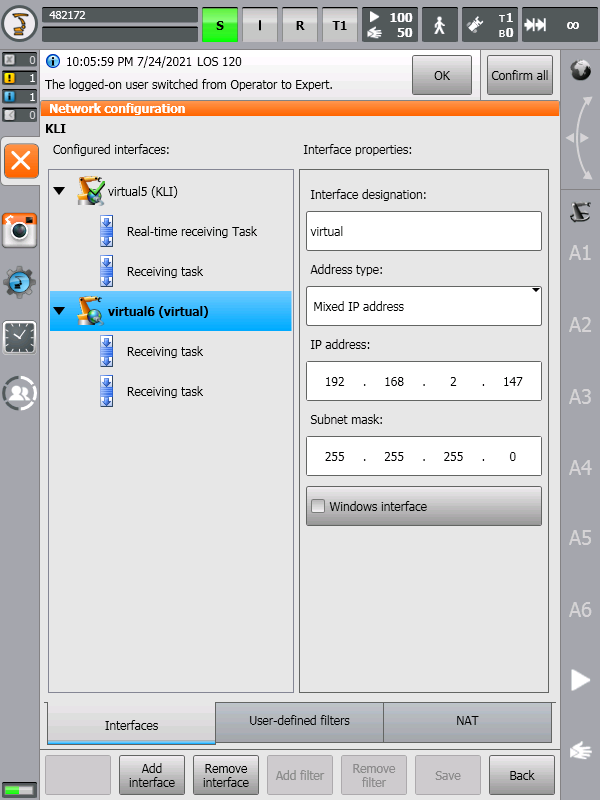
8. Save the settings and exit the Network Configuration page.
9. Go to the Shutdown menu.
10. Perform a cold-reboot of the robot controller. Make sure that Reload File is checked.
On the host PC
- Navigate to Control Panel-> Network and Sharing Center -> Change Adapter Settings.
- Right-click on the network adapter you wish to use and click on properties.
- Double-click on Internet Protocol Version 4 TCP/IPv4 to open the network configuration dialog.
- Select “Use the following IP address” and fill in the below-mentioned parameters:
- IP address: 172.31.1.150 (or any IP Address on the same subnent)

- Subnet mask: 255.255.0.0

- Standard gateway: 172.31.1.147 (or whatever IP Address you set for the robot)
- Click on advanced and then add a new IP address with the below parameters:
- IP address: 192.168.2.150 (or any IP Address on the same subnent)

- Subnet mask: 255.255.255.0
Verifying the connection
- Open the windows command prompt on your PC.
- To test the connection with KLI, type in the following command and hit enter:
ping 172.31.1.147 - Similarly, you can also use the below command to test your connection to RSI:
ping 192.168.2.147
If you get an output reading “Reply from 172.31.1.147: bytes=32 time=<1ms TTL=64” then you have successfully set up a network connection to your Kuka robot. Otherwise double-check you have correctly completed all the steps in this guide. If the connection keeps failing please contact your network administrator to validate the setup for you.