This guide goes over wiring and setting up the FIZ Adapter Box for the Tilta Nucleus-M.
In the box
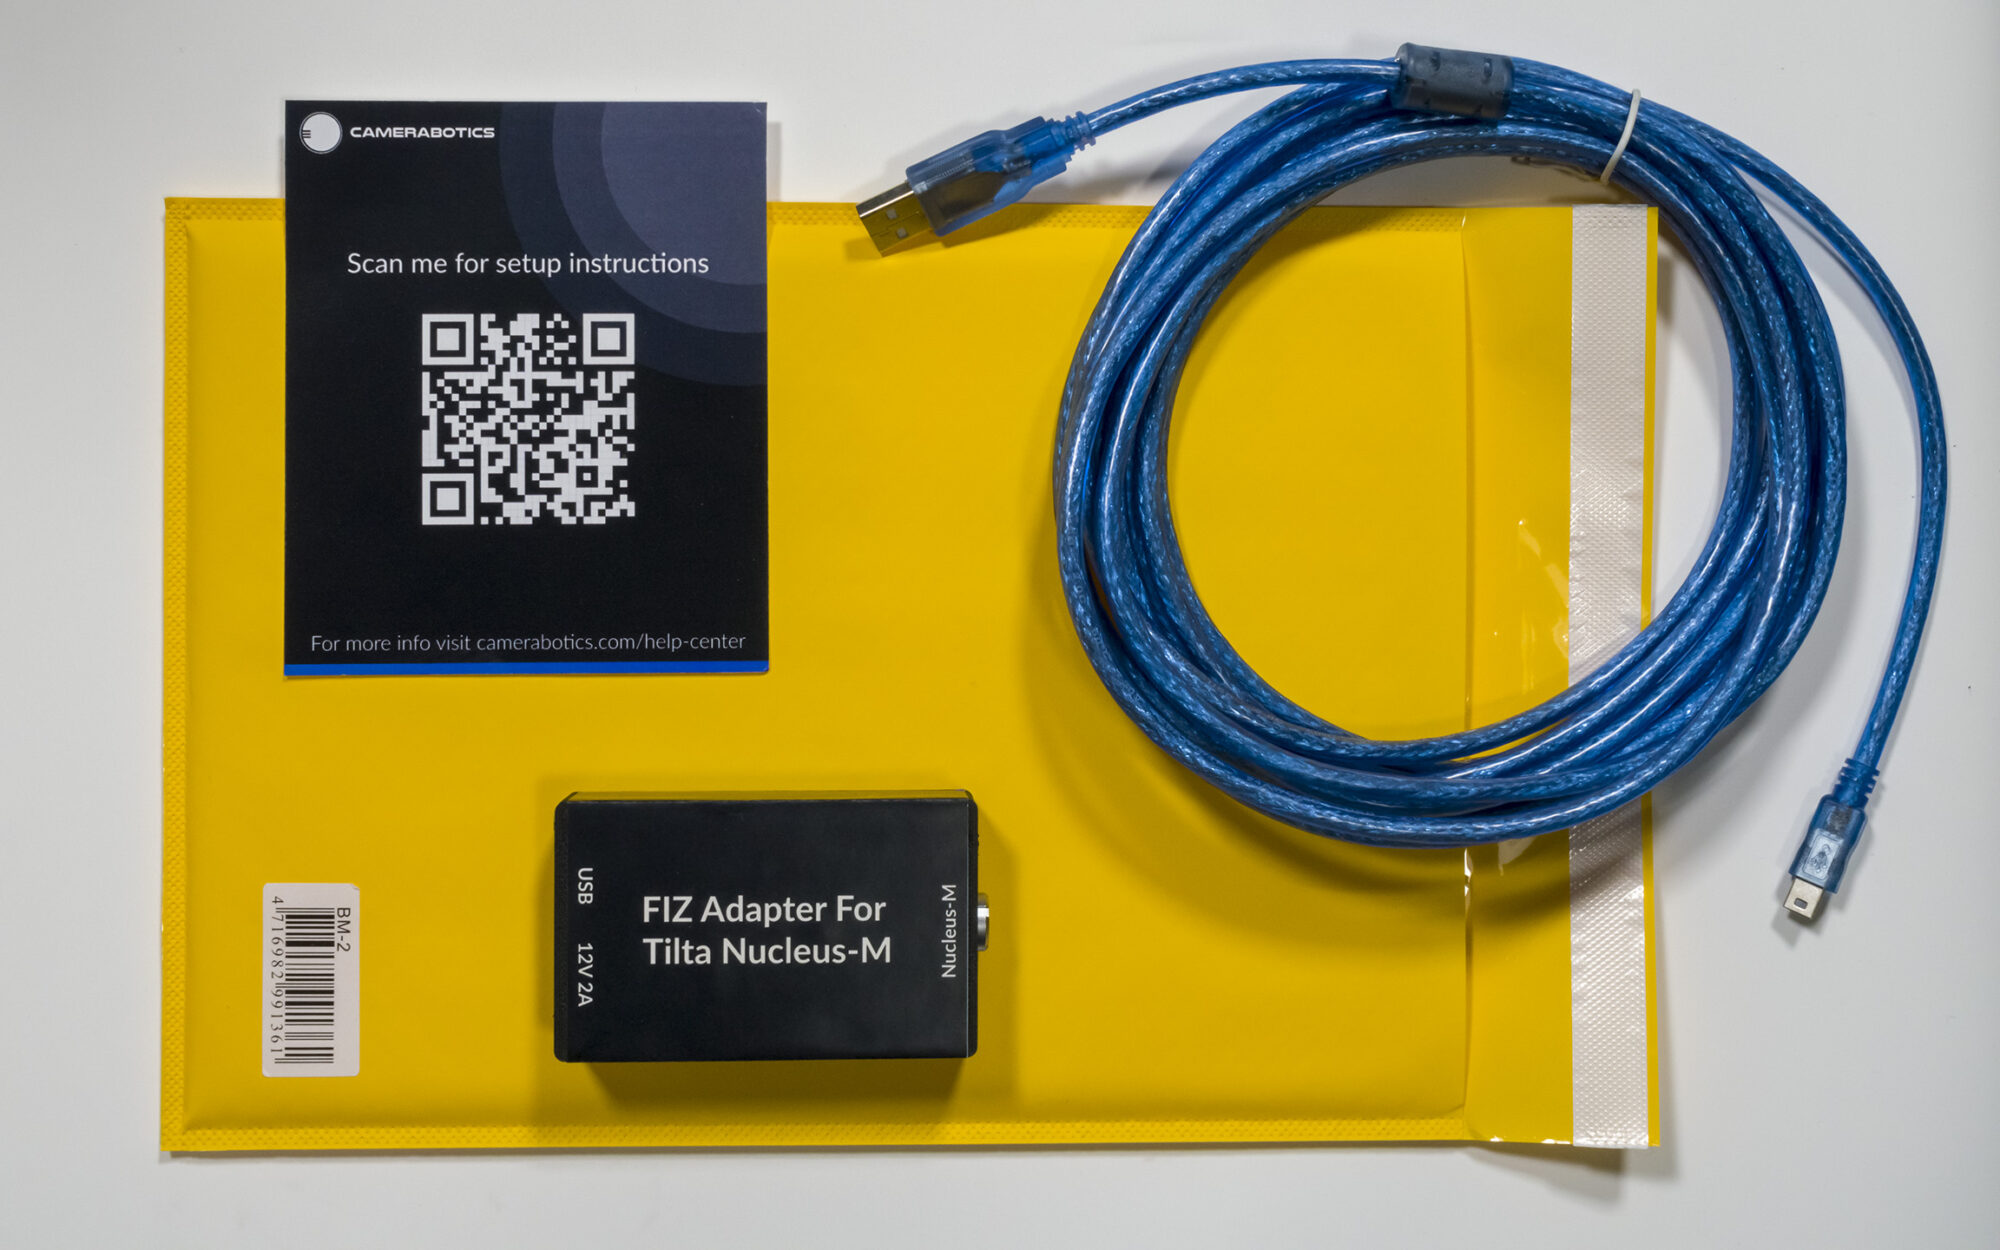
— FIZ Adapter Box for Tilta Nucleus-M
— 5 meter USB MiniB cable
— Instructions QR code leaflet
Wiring the FIZ Adapter

1. Run a USB cable from the FIZ box out to the PC running Lensmater.
2. Connect a 12 V 2A power supply to the barrel plug power input on the FIZ box.
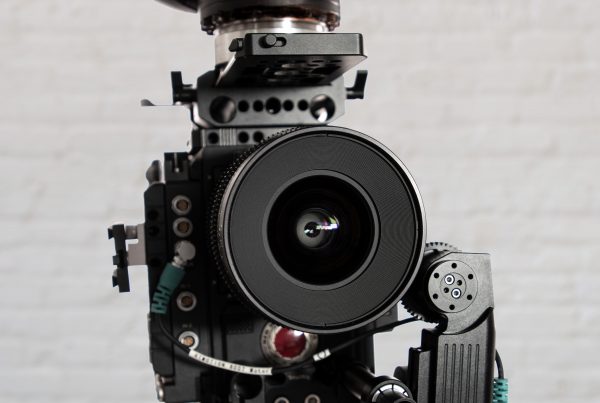
3. Connect the Tilta Nucleus-M motor to the 7-Pin Lemo Socket on the FIZ adapter box.
Configuring the Tilta Motors
On Each Tilta Nucleus-M Motor
1. Natigate to the settings menu.
2. Under wireless, set the wireless mode to OFF as we will be controlling the motor through Lensmaster and not using the wireless hand unit.
3. Under motor number select the motor number according to the below. The motor number determines what FIZ axis is controlled by this motor.
- N1: Focus Channel
- N2: Iris Channel
- N3: Zoom Channel
4. Under Auto Calibration Mode, set the motor to auto calibrate after 3 seconds. This will save you having to manually trigger calibration on the motors every time they are powered on.
Selecting the Tilta Nucleus-M in Lensmaster
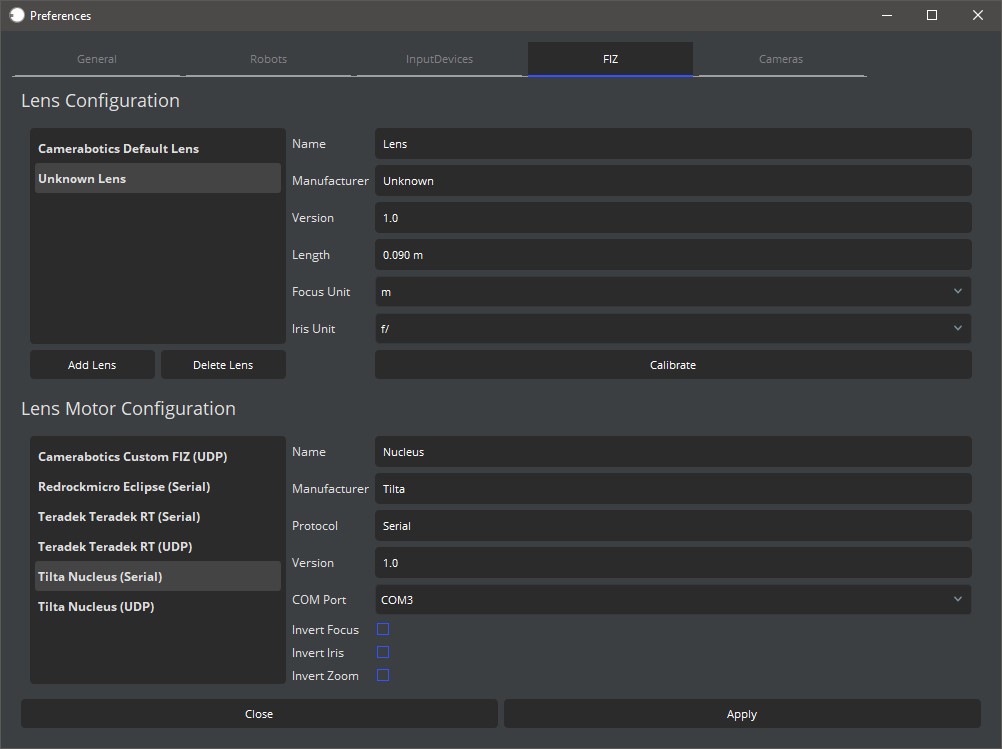
1. In Lensmaster navigate to preference and then FIZ
2. Under Lens Motor Configuration select “Tilta Nucleus (Serial)” from the supported FIZ system list.
3. Select the COM port used by your FIZ box. This can be found by looking for a device called “USB Serial Port (COM#)” under “Ports (COM & LPT)” in Windows Device Manager.
4. Hit apply to save your settings.
5. Go to the Connection Manager in Lensmaster.
6. Right Click on “Tilta Nucleus (Serial)” and hit connect to establish a conection to the FIZ motors.
7. You should now be able to control your Tilta Nucleus-M motors from Lensmaster.